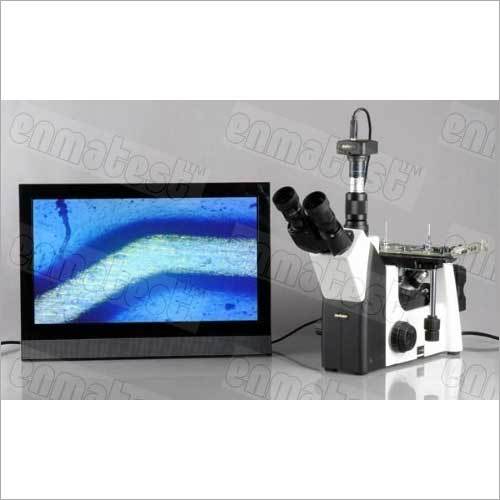
Product Description
Product Details :
Measurement Tools.
- - Calibration:
- - Length:
- - Angle:
- - Perimeter:
- - Width:
- - Radius:
- - Area:
- - Color:
- - Counting:
- - Flakes:
- - Draw Free Circle:
Metallographic Tools
- - Grain Size:
- - Phase: ASTM E 566 1245
- - Decarburization: ASTM E 1077
- - Coating Thickness: ASTM B 487
- - Nodularity: ASTM A 247
- - Porosity: ASTM 276
- - Inclusion: ASTM E 454 - E 1245
- - Particle Measurement:
- - Density:
- - Filters:
- - Invert:
- - Annotation:
- - Back Ground Removal:
- - Amalgamation:
- - Phase on Rectangular Area:
- - Amalgamation:
Some more Features from Main Menu:
- - Save & Save As:
- - Report Preview:
- - Zoom:
- - Inclusion DIN:
- - DIN PER:
- - Gallery:
- - Company Name:
- - Delete Calibration:
- - Open Image:
- - Open Image & Convert:
- - Show Capture:
- - Image: Modify or Comparison:
- - Image: Gray Scale:
- - Image: Resize Picture:
- - Options:
- - Capture:
Comprehensive Measurement and AnalysisThis software provides precise measurements of grain size, phase distribution, inclusion rating, and nodularity, supporting magnifications up to 1000x. Both automatic and manual modes ensure flexibility and detail, while image support for JPEG, BMP, TIFF, and PNG enables seamless workflow integration.
Efficient Data Management and ReportingAll analysis results are securely stored in the integrated database, providing quick access and retrieval. Users can effortlessly generate reports in PDF, Excel, or Word, allowing easy sharing and documentation for industrial compliance.
Seamless Connectivity and User ExperienceDesigned for compatibility with most USB cameras and Windows systems, the software offers robust connectivity via USB and LAN. Its intuitive graphical user interface allows multi-user engagement, secured by password protection and enhanced with real-time calibration for accurate measurements.
FAQ's of Micro-Measurement Metallurgy Image Analyzer Software:
Q: How do I calibrate measurements with the Micro-Measurement Metallurgy Image Analyzer Software?
A: Calibration is performed in real-time using reference standards provided in the software. The graphical user interface guides you through each step, ensuring high measurement accuracy every time you analyze a metallurgy image.
Q: What image formats are supported for analysis within the software?
A: This software supports JPEG, BMP, TIFF, and PNG formats, allowing users to import and analyze images captured from various devices without the need for conversion.
Q: When are software updates provided and how do I access them?
A: Annual software updates are available, ensuring that users benefit from the latest features and security enhancements. Updates can be accessed online through the official support portal.
Q: Where can I store and retrieve my analysis results?
A: All analysis data is stored securely within the built-in results database, enabling efficient retrieval and management. Reports can also be exported to your local system in PDF, Excel, or Word formats.
Q: What is the process for generating and exporting analytical reports?
A: After completing your analysis, you can generate detailed reports directly from the software. These reports can then be exported in PDF, Excel, or Word formats for documentation or sharing purposes.
Q: How does the software enhance productivity for industrial metallurgical analysis?
A: The software streamlines measurement, analysis, and reporting, reduces manual work, supports multi-user access, and ensures data security, thereby enhancing overall productivity for manufacturers, suppliers, and traders.


